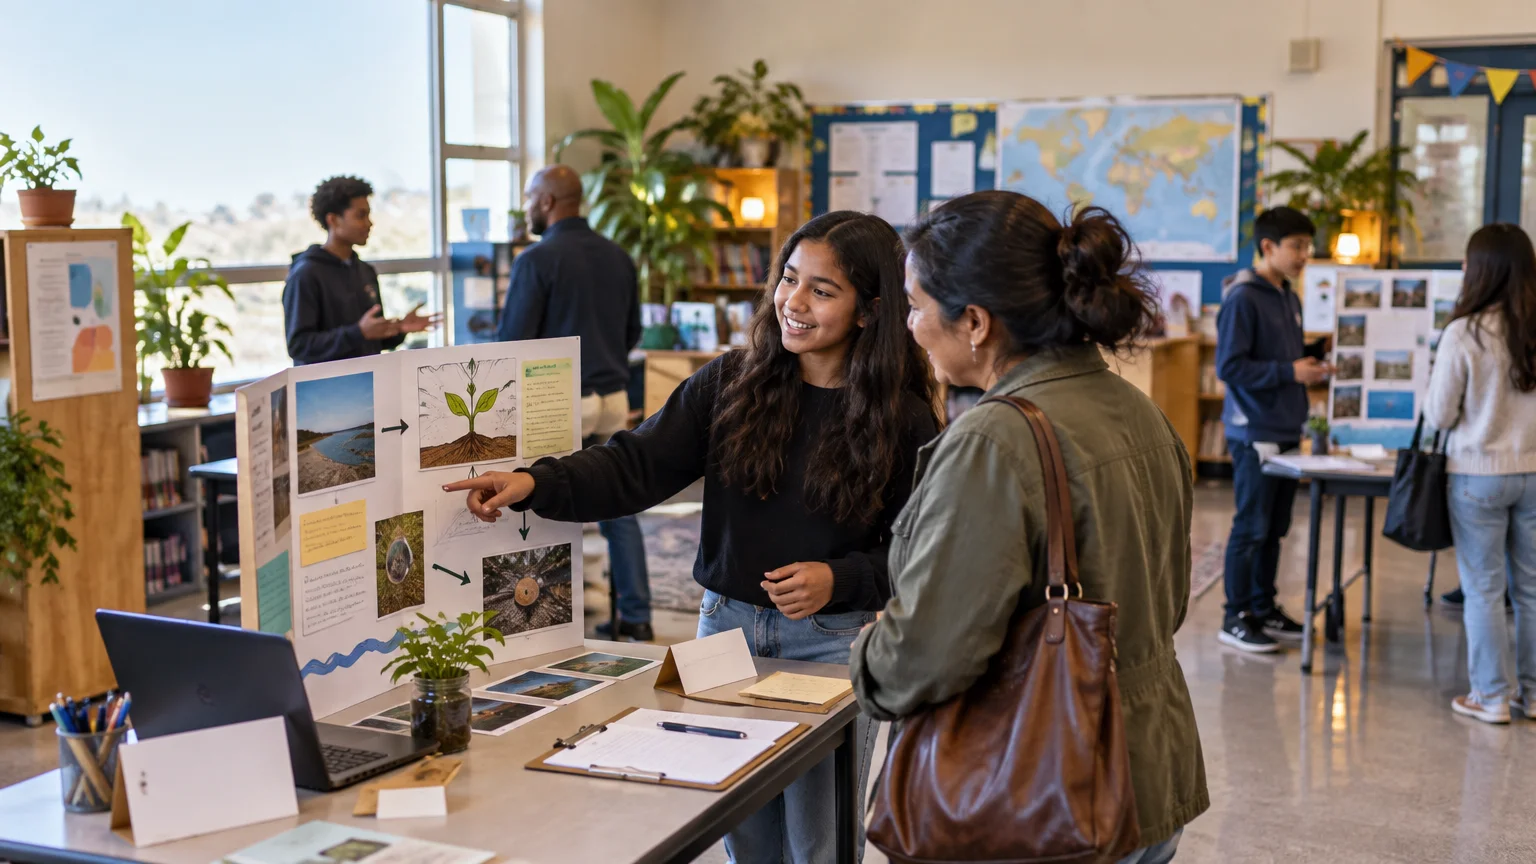
TLDR: Effective student showcase event planning begins with what students should explain, not with decorations or a complicated program. Choose one to three learning outcomes, display evidence of the learning process, rehearse short student explanations, offer flexible participation roles, and give visitors simple feedback prompts. A classroom gallery walk can be every bit as meaningful as a large evening exhibition.
The best showcases feel less like performances and more like conversations about learning. Students point to a draft, describe a decision, demonstrate a skill, or explain how feedback changed their work. Visitors leave understanding not only what students made, but also what they learned while making it.
What makes a student showcase different?
A student showcase is a structured opportunity for learners to present evidence of their knowledge, skills, growth, or creative process to an audience. Unlike a conventional open house, it puts students in an active role. Unlike a performance, it does not require every learner to deliver a polished presentation from a stage. Unlike a display-only event, it invites explanation, questions, and reflection.
A useful showcase normally includes a final product or performance, evidence of the process, a student explanation, and an opportunity for audience response. PBLWorks recommends planning around the students, their work, the intended audience, and the community context. Its guidance also emphasizes drafts, feedback, revision, and reflection rather than displaying only finished products.
This distinction matters because polished work can hide the learning. A perfect model tells visitors little if they cannot see the early sketch, failed test, revised calculation, peer comment, or design choice behind it. One well-chosen process artifact often reveals more than another decorative display.
Start student showcase event planning with the learning
Before choosing a date or reserving a room, complete this sentence: “By the end of the showcase, visitors should understand that students can…” Keep the answer to one to three outcomes. Examples might include using evidence to support a historical interpretation, revising writing for a particular audience, testing an engineering design, or explaining a mathematical strategy.
Next, decide what evidence would make each outcome visible. A strong evidence set might contain the final piece, one draft or prototype, one example of feedback, a short revision note, and a student reflection. Not every display needs all five elements, but visitors should be able to detect growth or reasoning rather than merely inspect a product.
| Planning area | Teacher decision | Student contribution | Evidence to prepare |
|---|---|---|---|
| Learning goal | Select one to three outcomes | Explain the goal in student-friendly language | Rubric excerpt or learning target |
| Process | Choose the most revealing stages | Select a draft, mistake, test, or turning point | Draft, prototype, notes, or feedback |
| Presentation | Set a realistic length and format | Prepare and rehearse an explanation | Prompt card, label, demonstration, or recording |
| Audience response | Choose two or three useful prompts | Decide how feedback will be collected | Comment cards, sticky notes, or digital form |
Choose a format that fits the students and setting
The format should match the purpose, age group, available space, and students’ confidence. A larger event is not automatically a better one.
- Classroom gallery walk: Visitors circulate among desks or wall displays. This is a low-lift choice for one class, a short time slot, or a first showcase.
- Classroom museum: Students act as docents beside artifacts, models, timelines, or interactive stations. This works especially well in elementary and middle grades.
- Presentation rotation: Small groups deliver brief presentations at scheduled intervals. It helps manage noise and gives students repeated practice.
- Student-led conference: One student guides a family member or teacher through a portfolio. This format supports individual reflection and private discussion.
- Digital or hybrid showcase: Students use recorded explanations, digital portfolios, or QR-linked media. It can extend access to people who cannot attend, subject to school privacy and publishing rules.
- Capstone exhibition: Older students defend an extended project before a panel or community audience. This requires substantial preparation, clear assessment criteria, and careful scheduling.
For younger students, use short explanations, partner presentations, pictures, and predictable questions. Middle school students can manage stations, demonstrations, and rotating roles. High school students may be ready for longer presentations, portfolio conferences, or capstone panels, but they still benefit from explicit rehearsal and clear prompts.
Give every student a meaningful role
Participation does not have to mean standing alone and speaking continuously. CAST’s Universal Design for Learning guidance recognizes that learners vary in how they act, communicate, and express what they know. It supports multiple forms of communication as well as tools and supports for practice and performance. Educators can use CAST’s guidance on action and expression when designing participation choices.
Possible roles include presenter, co-presenter, docent, greeter, demonstration leader, visitor guide, technology assistant, feedback collector, timekeeper, or recorded contributor. A student who is not ready for spontaneous questions might present with a partner, use a prompt card, demonstrate a process, play a recorded explanation, or answer questions in writing.
Avoid treating alternative roles as lesser assignments. Each role should have a clear responsibility connected to the event’s learning or operation. Rotate roles when the schedule allows so that students can contribute in more than one way.
Teach students how to explain their work
Do not assume students know how to present simply because they completed the project. Practitioner guidance from Edutopia highlights early scheduling, deliberate planning, and student practice as important parts of project-based learning showcases.
Teach a compact explanation structure that students can adapt: “Our goal was…,” “This shows…,” “One challenge was…,” “We changed… because…,” and “Next time, I would….” Elementary students might use three illustrated prompts. Older students can connect their choices to criteria, evidence, or disciplinary vocabulary.
Rehearse in small, low-pressure rounds. First, students explain their work to a partner for 30 to 60 seconds. Next, partners ask one predictable question. Then groups conduct a miniature gallery walk. Finish with a rehearsal that includes common visitor questions, such as “Why did you choose this?” or “What part was most difficult?”
Teach students how to respond when they do not know an answer. “I’m not sure yet, but here is what I do know” is more useful than guessing. Students should also know whom to ask for help if a visitor raises a sensitive, personal, or off-topic question.
Design a simple visitor experience
Visitors should be able to tell where to go, what they are seeing, and how to participate. Provide the date, time, location, arrival procedure, parking or transportation information when relevant, accessibility contact, and whether guests must register. Personal outreach and adapting an event for particular groups are among the family-engagement strategies identified by the Institute of Education Sciences.
Use the communication methods families already recognize. That might include a school message, email, translated notice, phone call, student-made reminder, or paper invitation. If printed outreach is appropriate for the community, prepare invitations for the student showcase with the essential arrival details and a clear response method. A polished invitation cannot compensate for inaccessible timing, unfamiliar procedures, or limited notice, so confirm those practical details first.
At the event, keep the welcome brief. Supply a one-page map or visible route for a large space, label each station clearly, and avoid lengthy whole-group announcements. Displays should identify the learning goal, the student or group where permitted, what visitors should notice, and an optional question they can ask.
Give visitors two or three feedback prompts rather than an empty comment box. Useful examples include “I noticed…,” “Your evidence helped me understand…,” and “A question I still have is….” PBLWorks recommends preparing visitors to offer kind, specific, helpful critique and giving students a process for reviewing that feedback afterward.
Build access into the event from the beginning
An inclusive showcase offers more than one way to attend, communicate, and participate. Consider step-free routes, seating, sound levels, lighting, readable labels, language access where available, and alternatives to an evening-only event. Equitable family-engagement resources from the U.S. Department of Education emphasize participation and attention to barriers affecting different families.
Possible adjustments include opening the gallery during part of the school day, sharing approved recordings, offering a quiet viewing period, translating essential directions, scheduling presentations in short windows, or allowing a trusted adult to attend remotely. Check local requirements before recording students or publishing names, images, voices, or work.
Before inviting visitors, confirm school rules for safeguarding, sign-in, supervision, photography, data sharing, food, allergies, accessibility requests, emergency procedures, and dismissal. These requirements vary, so the school’s current policies should control the plan.
A realistic six-week planning timeline
| Time before event | Teacher priorities | Student priorities |
|---|---|---|
| Six weeks | Choose outcomes, audience, format, date, and space; check policies | Discuss the purpose and examine sample presentation formats |
| Four to five weeks | Send initial information and identify access needs | Select work and begin collecting process evidence |
| Three weeks | Confirm visitor flow, equipment, labels, and feedback method | Draft reflections and short explanations |
| Two weeks | Assign logistics and troubleshoot missing materials | Rehearse with partners and revise displays |
| One week | Confirm attendance procedures and final layout | Practice questions, roles, transitions, and backup plans |
| Event day | Set up, welcome visitors, supervise flow, and preserve feedback | Present, guide, demonstrate, listen, and collect responses |
| Afterward | Review logistics and document improvements | Sort feedback, reflect, and revise where useful |
If six weeks are not available, reduce the scale rather than compressing every task. A one-class gallery walk with handwritten labels and invited staff members can be organized more quickly than a schoolwide evening program. Protect time for choosing evidence and rehearsing; remove decorations, refreshments, elaborate programs, and extra technology before removing the parts that support learning.
Use the feedback after the room clears
A showcase is incomplete if comment cards disappear into a folder. In the next lesson, ask students to sort feedback into observations, questions, suggestions, and compliments. They can select one comment that confirmed their explanation was clear and one that could inform a revision or future project.
Then conduct a short reflection: What did visitors understand? Which questions appeared repeatedly? What was difficult to explain? What would make the next showcase more accessible or easier to navigate? Not every visitor suggestion should trigger a change, but students can practice evaluating feedback against the project goal and assessment criteria.
Teachers should also record operational lessons while they are fresh: whether arrival instructions worked, which stations became congested, whether the schedule allowed transitions, and which participation options students actually used. This turns one event into a practical template for the next.
Ready-to-showcase checklist
- The event centers on one to three clear learning outcomes.
- Displays include evidence of process, revision, reasoning, or reflection.
- Every student has a meaningful and accessible participation option.
- Students have rehearsed short explanations and common questions.
- Visitors know when to arrive, where to go, and how to participate.
- Labels and directions are concise, readable, and easy to navigate.
- Feedback prompts encourage specific, constructive responses.
- School requirements for visitors, privacy, recording, food, and safety have been checked.
- A backup exists for absence, technology failure, or a student who cannot present live.
- Time is scheduled for students to review feedback and reflect afterward.
Make the first showcase deliberately manageable
The most useful next step is to choose one learning goal and one reachable audience. Invite another class, a small group of family members, school staff, or a community partner to a simple gallery walk. Prepare students to explain one piece of work and one meaningful revision. Once that learning-centered structure works, it can grow into a larger event without losing its purpose.
References
- Ending the Year with a Successful PBL Showcase | PBLWorks
- Hosting a PBL Showcase: One School's Story | PBLWorks
- Action & Expression | CAST UDL Guidelines
- www.cast.org
- PBL Showcases Are Worth the Investment of Time | Edutopia
- 6 Strategies for Effective School Family Engagement Events | IES
- Strategies for Equitable Family Engagement | U.S. Department of Education
- www.ed.gov
- www.ed.gov